Probo Medical Is The Leading Global Provider of Diagnostic Imaging Solutions
We empower medical professionals to Image Smarter with our uniquely positioned affordable, high-quality diagnostic imaging services and solutions
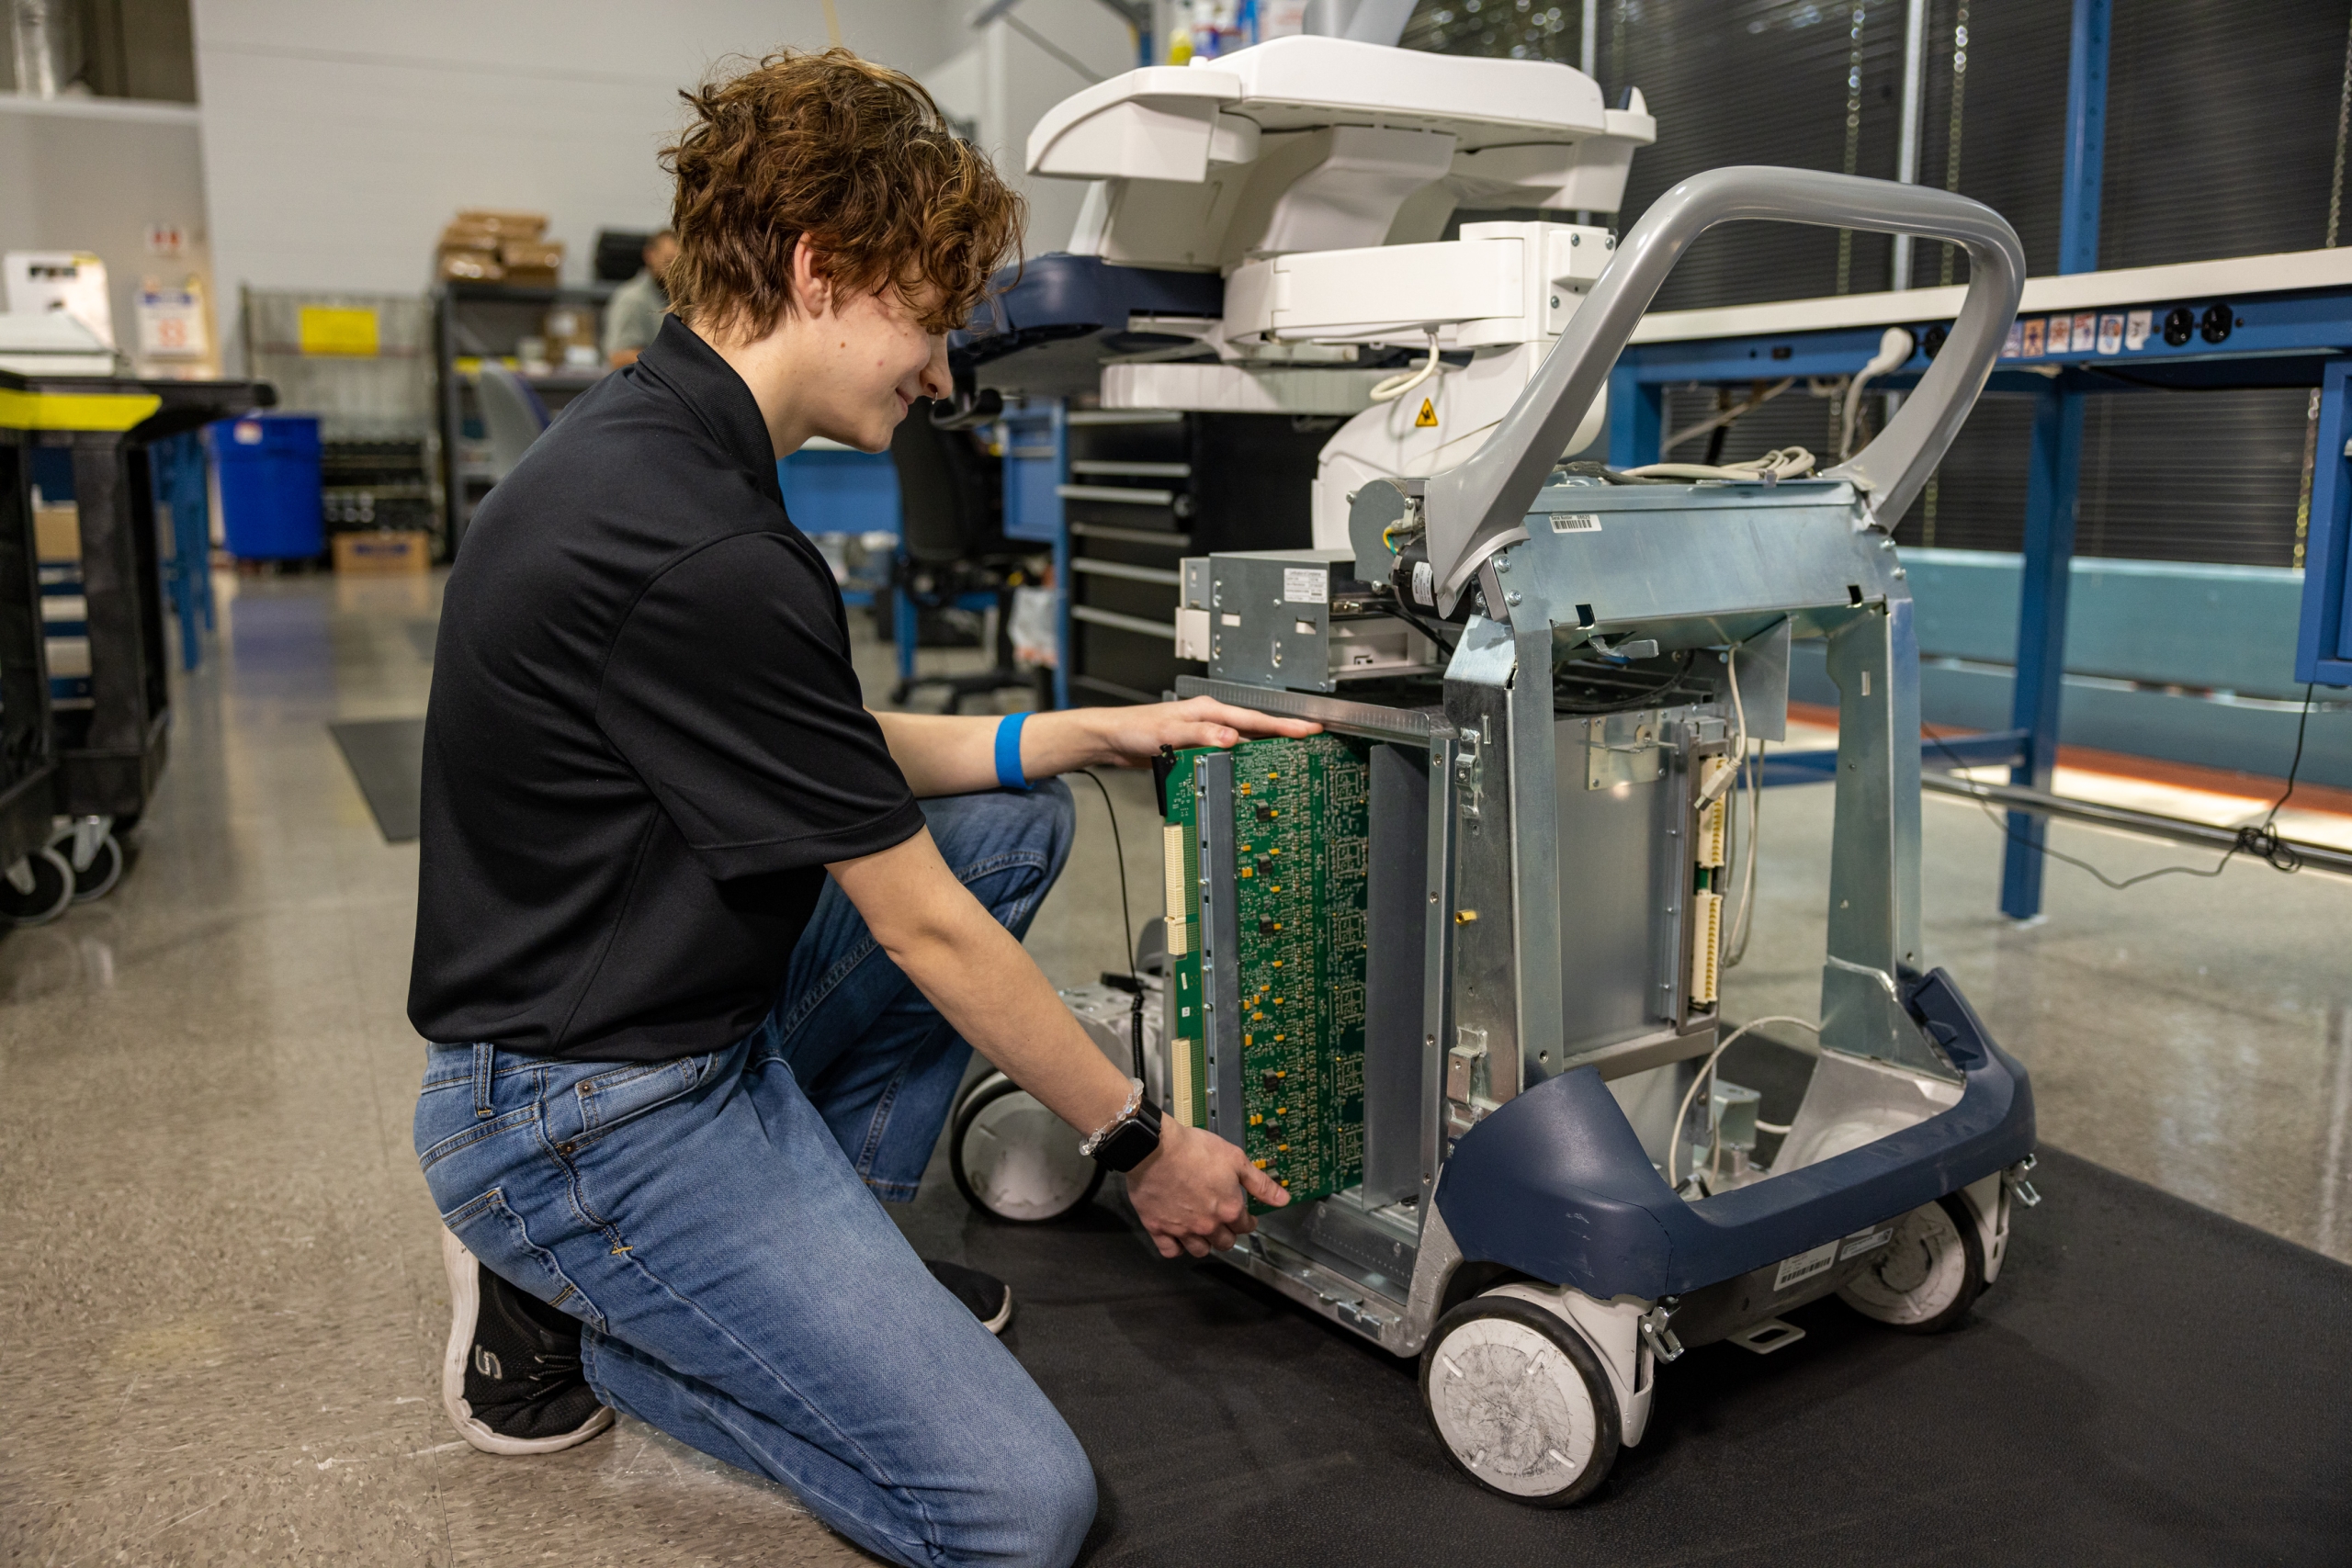
Refurbishing
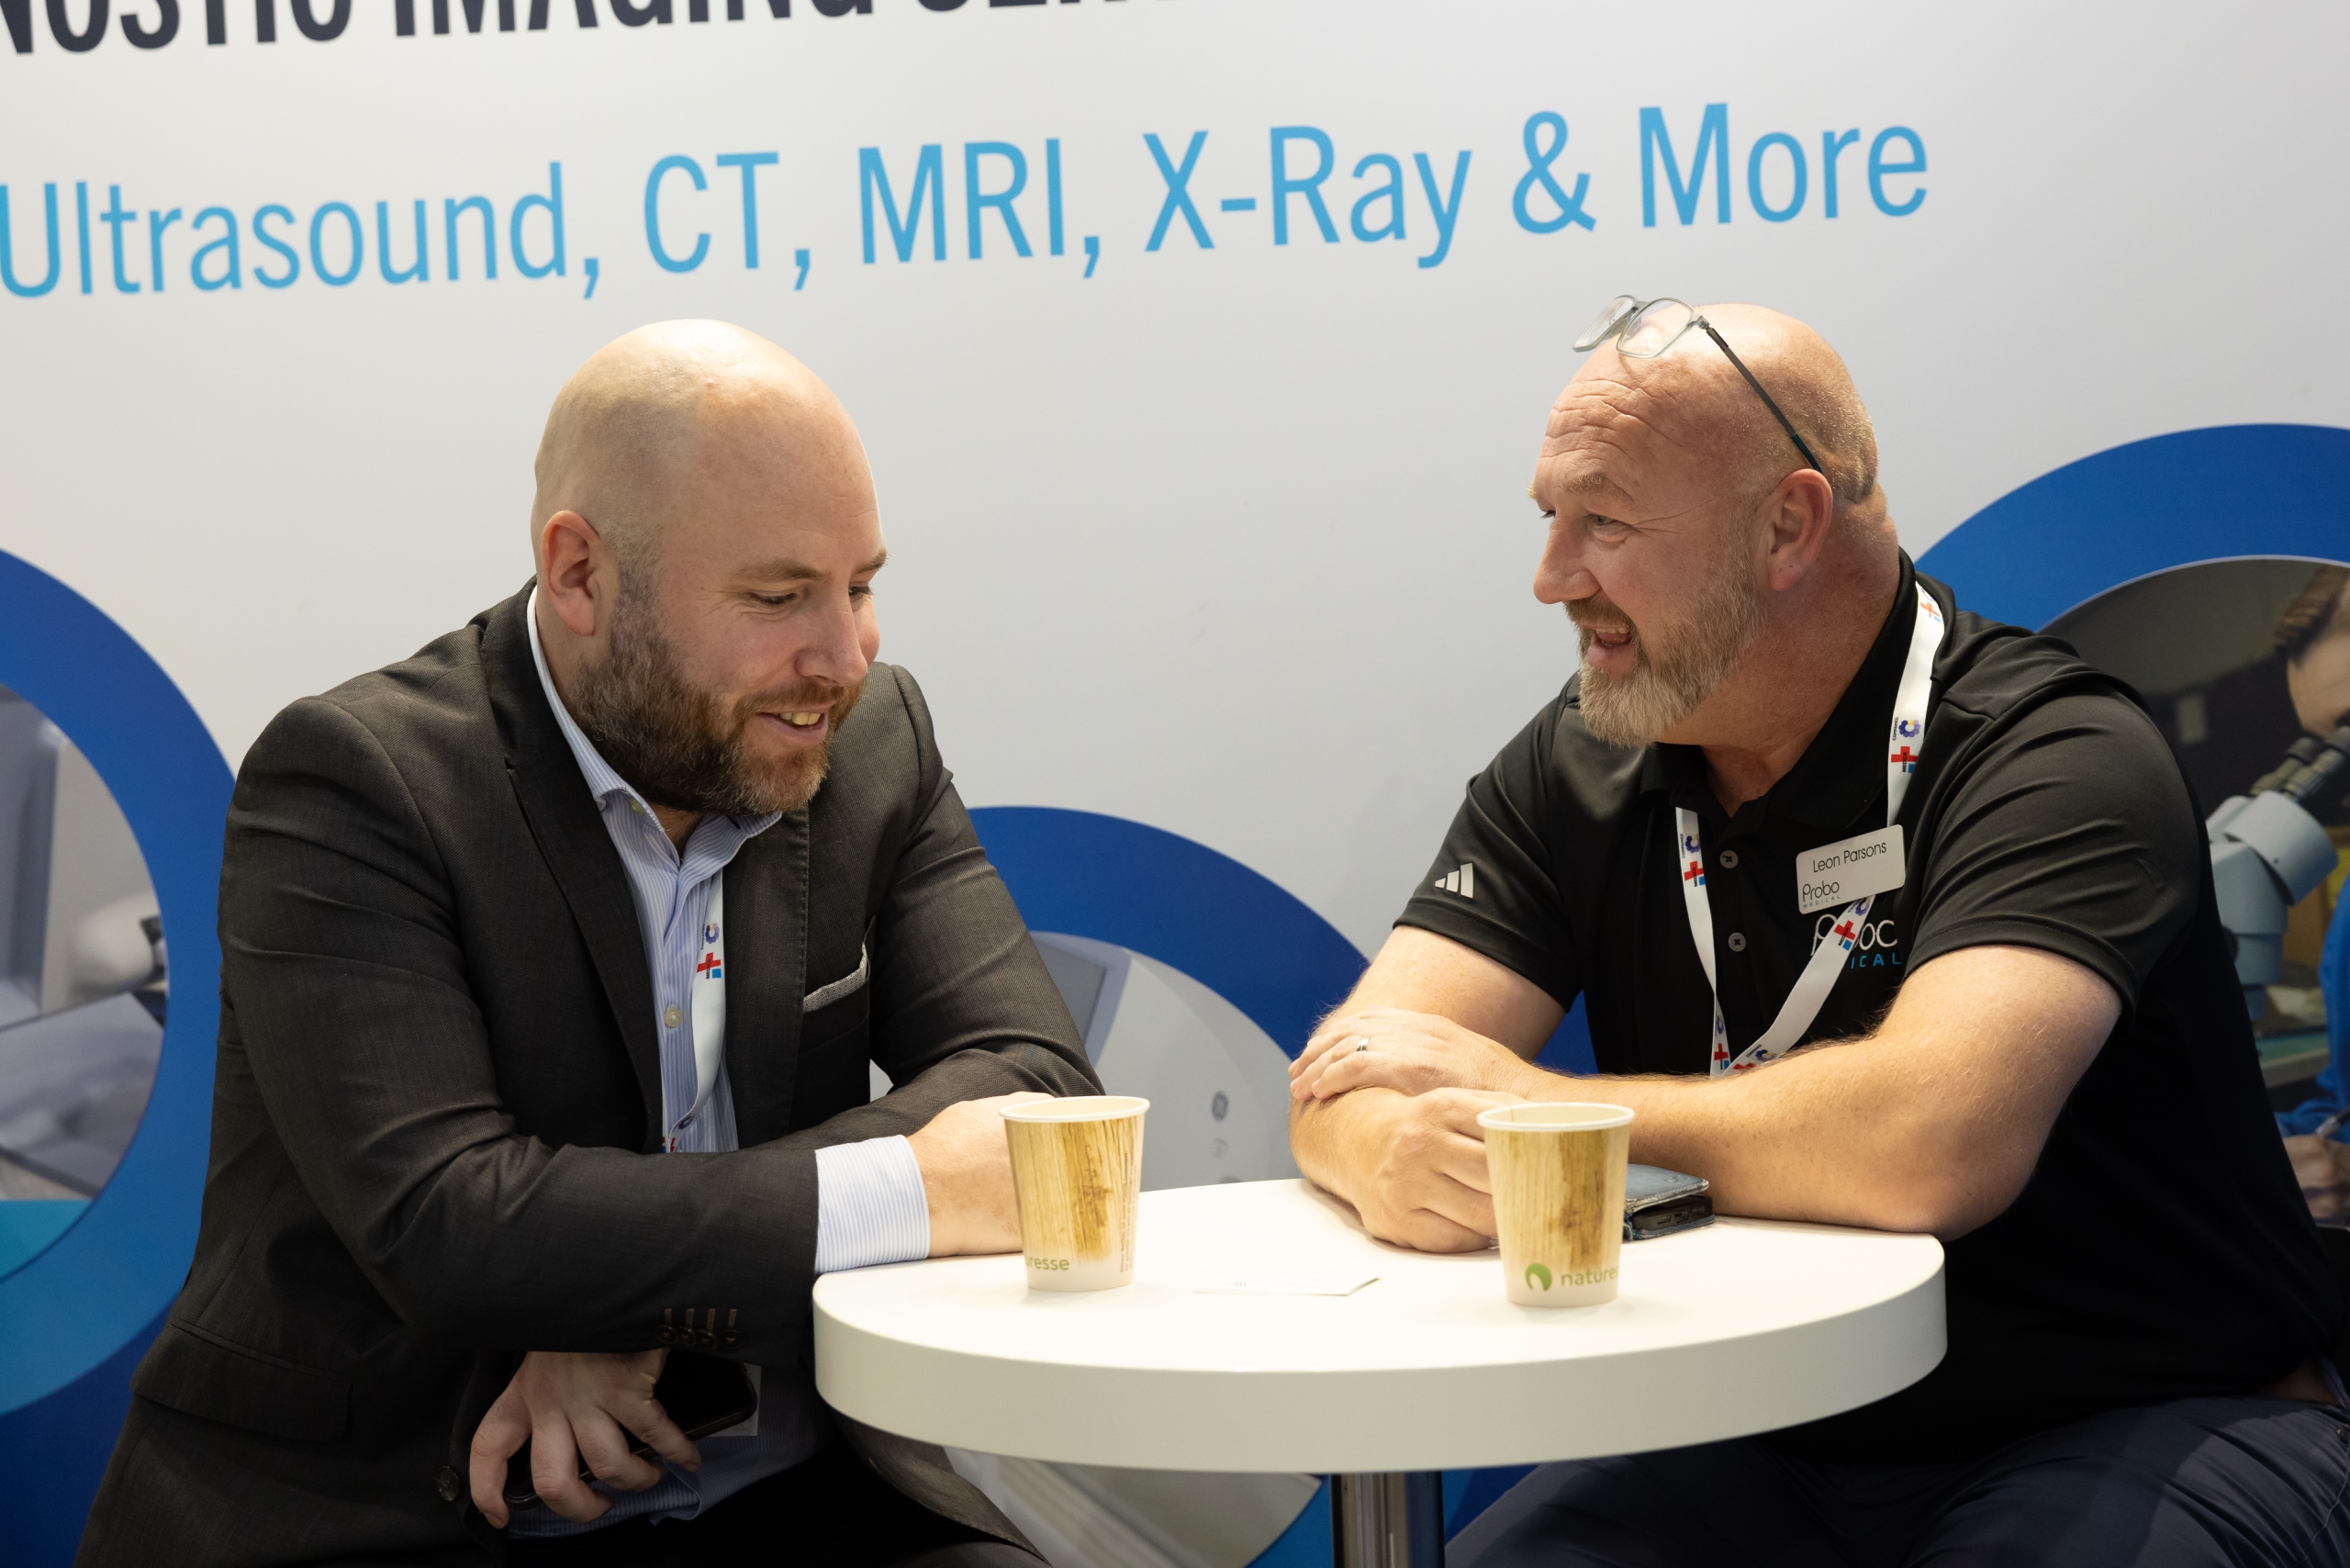
Rent/Buy Products
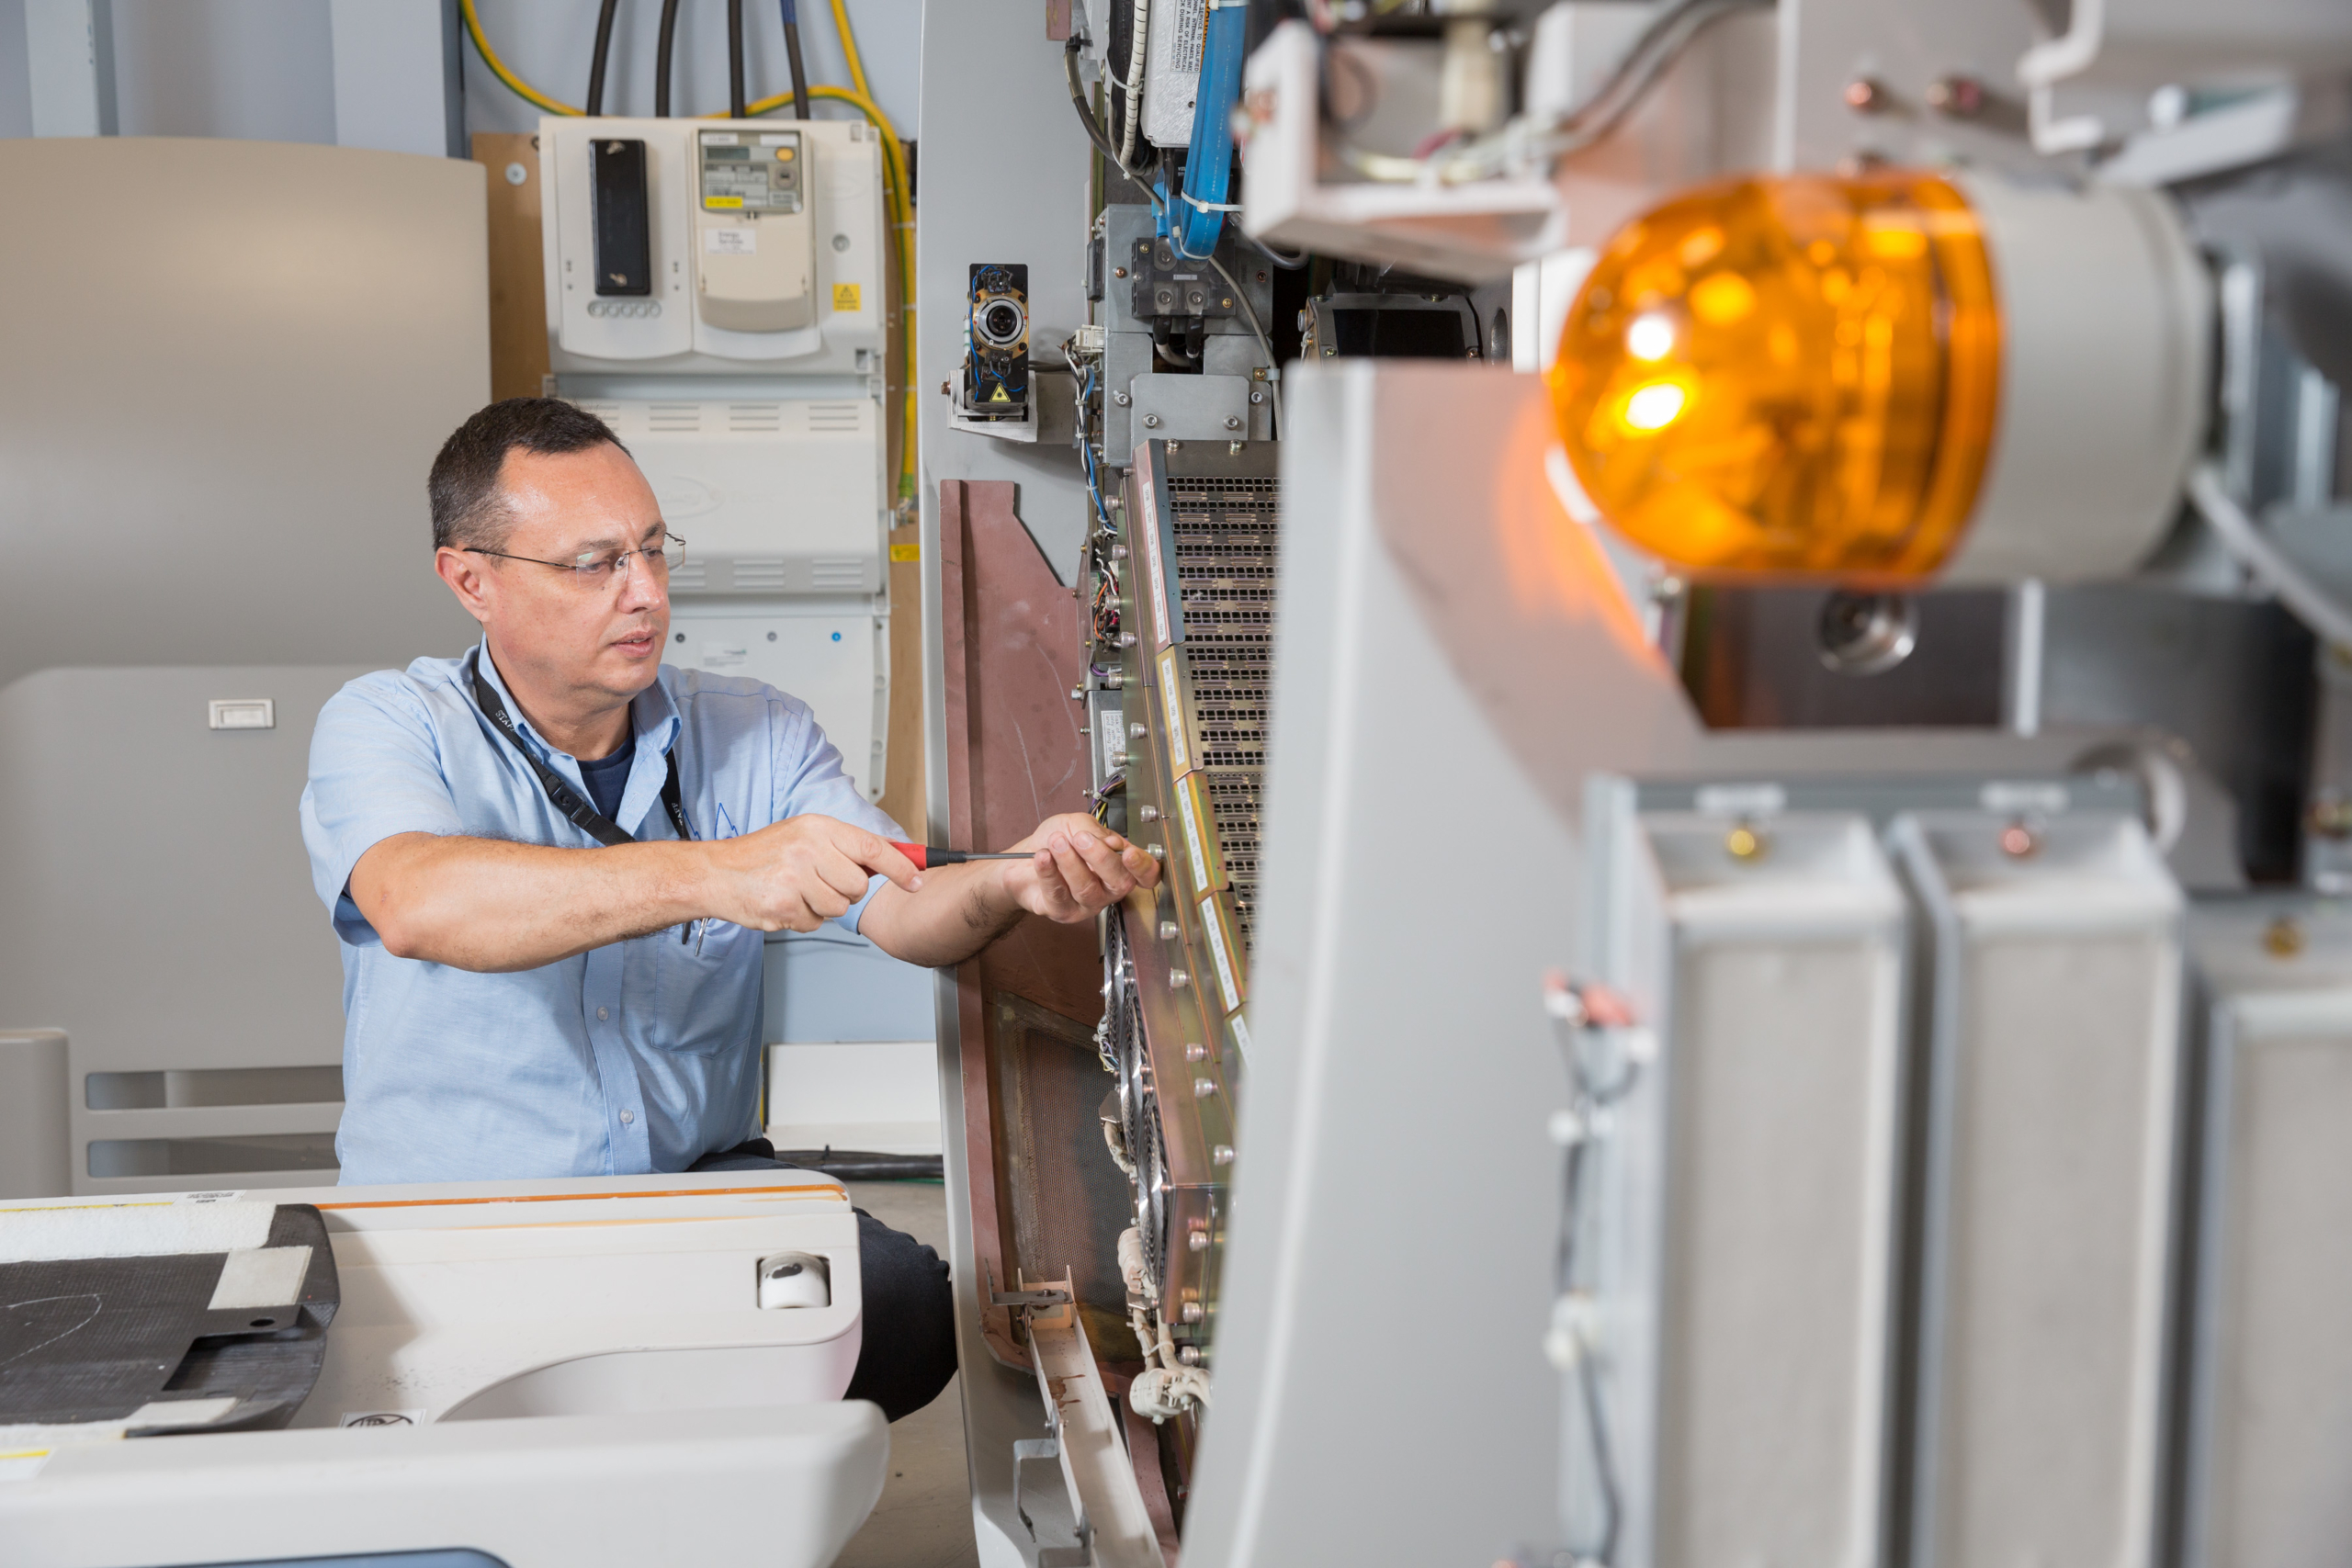
Services & Repair
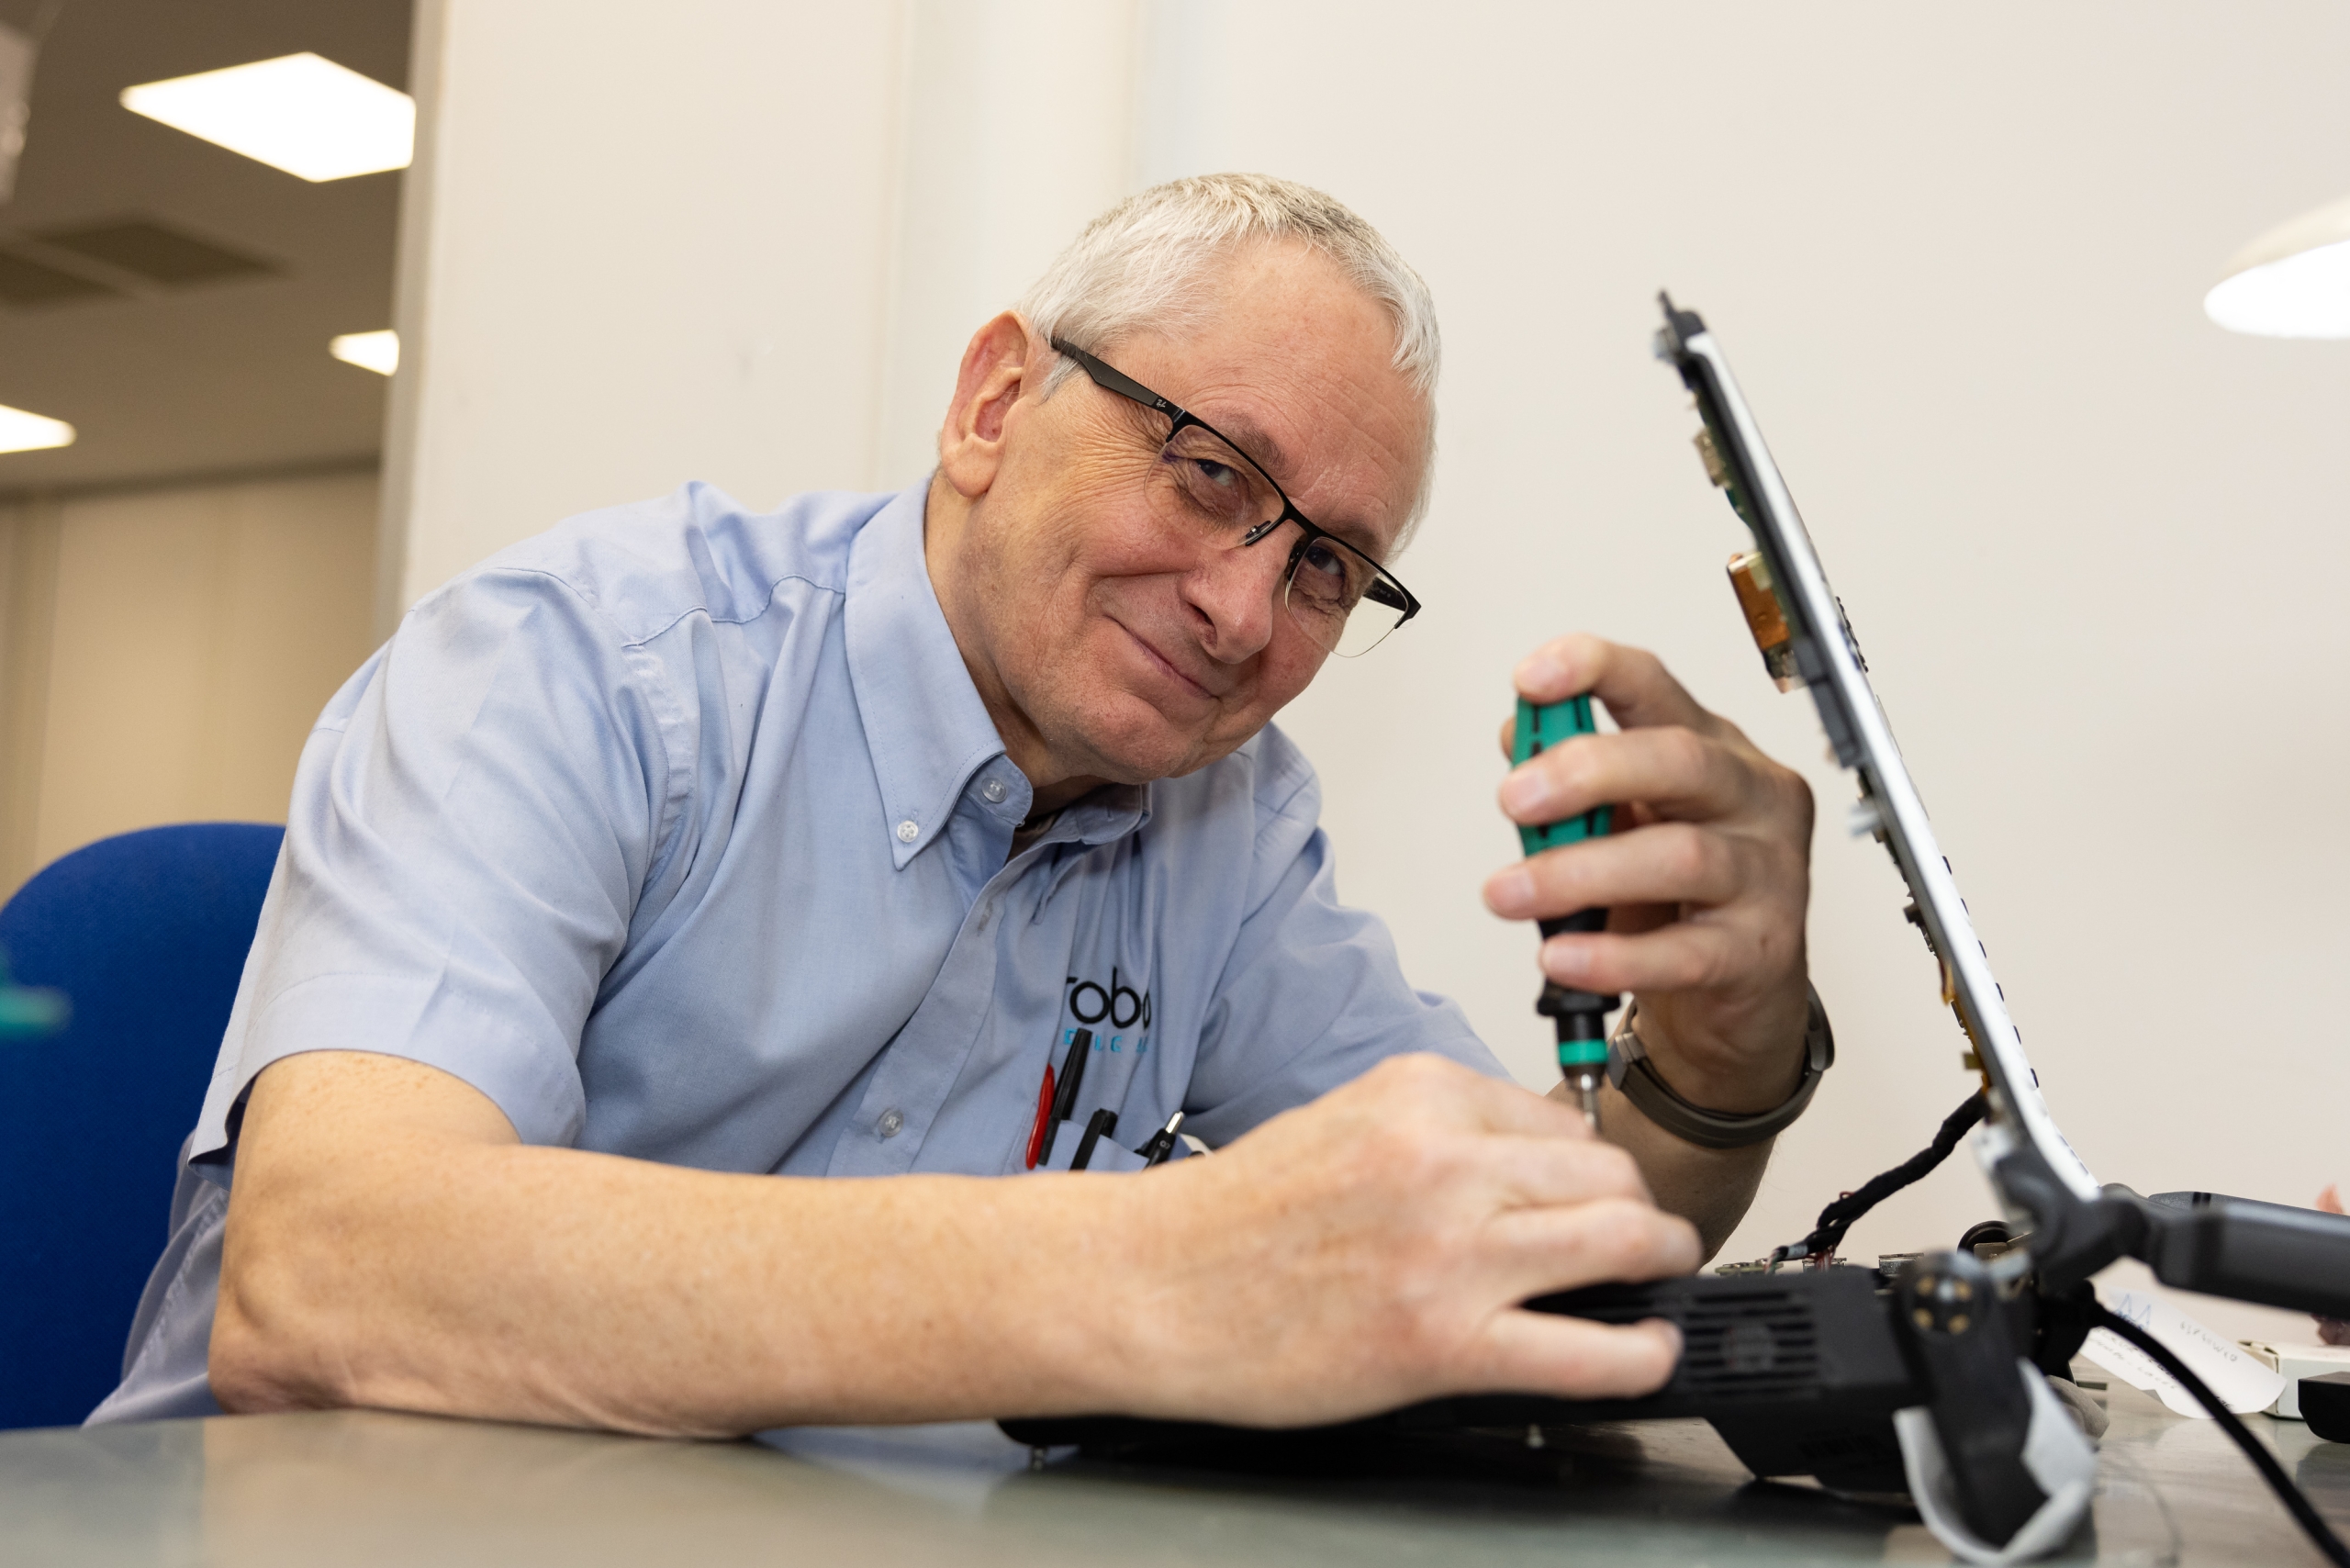
WHY PROBO
What You Need,
How You Need It.
Whether you’re looking for new or refurbished diagnostic imaging equipment, we likely have it in our inventory.
We’re a one-stop shop. Partner with us for repairs, rentals, replacements, and more.
Our repairs go through our ISO Certified Quality Management System and are tested, retested, and backed by a 90-day warranty.
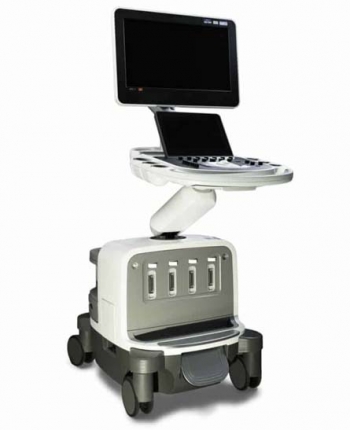
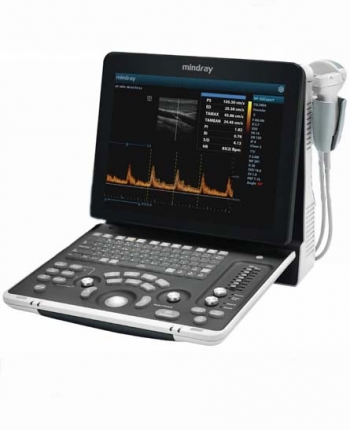
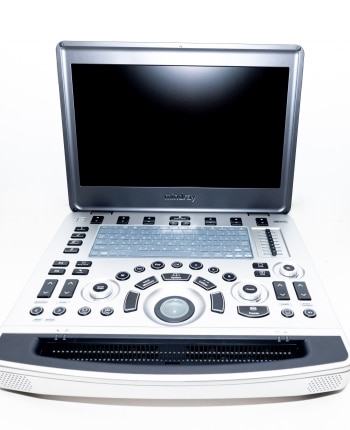
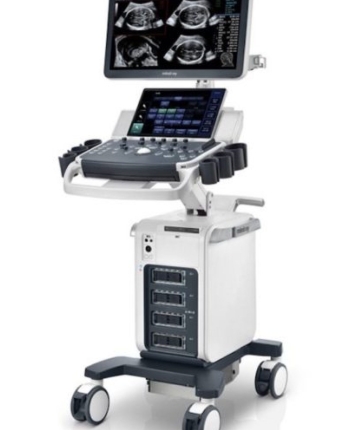
Featured Products
Choose from thousands of systems, in-stock and at affordable prices.

What We Believe
Compromise on Cost, Not on Care
We empower professionals to make smarter choices for their business by delivering high-quality, affordable imaging equipment and services.
WHO WE SERVE
Imaging Professionals Around the World Rely on Probo
Why Do We
Refurbish?
So it looks and operates like brand new.
From selection and testing to replacements and enhancements, Probo Medical’s refurbishing process is second to none. We strive to meet or exceed manufacturer's specifications at our ISO 13485 certified facilities.

Customer Reviews
Hobie was amazing!! Very helpful and very knowledgeable. Hope to have additional training with Hobie in the future.
–Matt, Basic US & Epiq/Affiniti
Enrico Franchini, so good at working across time zones and with different communication styles to achieve what we needed.
It is always easy to work with Probo Medical and Terry. In recent years, Terry has been helping us with multiple ultrasound equipment rentals, including ultrasound systems and ultrasound probes. Terry always gave quick responses in system quotes and related information inquiries. Plus, she is very professional in handling technical questions, which is a big help for customers to better use rental equipment for their projects.
– Fuxing Y., Ph.D. Principal Application Engineer
Instructor is very knowledgeable and I have learned a lot more than what I know now. This will definitely help me to narrow a problem down and fix it.
– Voluson Training Course Attendee
Glenn made this experience as painless as possible. The rental kept my business up and going during the repair.
Mark Asmer was amazing! He promptly answered every question, made sure we came in at our budget, and got us the best machine for the best price.
Overall the entire training experience was quite satisfactory. Staff and faculty was very welcoming. All questions were given 100% effort in regards to response. The offering of continued support was great. No complaints. John was awesome! Thank you for his time.
– Norman I. Voluson Training Course
Our representative was Tim Maltby. I contacted Tim back in February to request a quote for an ultrasound probe. He got back to me right away. When I reached out to him this month to inquire if the probe was still in stock as we were ready to purchase, he was so generous in giving us the original price quoted and worked with our administrative assistant to get the purchase done. Fast and thoughtful service. Once the order had been placed, the probe arrived 2-3 days later which was amazing.
Barb and Joe have been great. I appreciate Joe answering all my questions. We are in a unique situation and he was very helpful.
– Elizabeth S.
Having been in the portable ultrasound business for nearly twenty years, one of the highest most pressing needs is to have up to date equipment with attentive service and availability. Probo Medical not only has consistently provided us with the latest technology but Terry Mascia and her support staff have been life savers over and over when we needed them most. The exceptional care given to our company over the years is why we would highly recommend Probo Medical to anyone who shares our industry.
– Jennifer F., Owner of a Portable Ultrasound Business
This was our first experience with Probo and from the first phone call to final delivery and payment, Joe Hicks was straightforward and open to helping the entire way.
This helped me feel more confident in being able to service the unit when needed.
– Rana H. Epiq Training Course
This purchase was made possible by a grant that our company applied for. Joe Hicks patiently waited the six months it took to hear if our grant application was accepted. Today I received the transducers we purchased and I couldn’t be happier! I will finally be able to perform thyroid ultrasounds, and will possibly be looking into musculoskeletal scans.
Mark Asmer made my buying experience very smooth. I was afraid of buying from an online company I found from a Google search. After dealing with a few different online vendors, Mark’s knowledge of the products definitely stood out compared to the others. He answered all my questions and was very responsive. I would highly recommend Probo Medical.
John Zentz was extremely knowledgeable and patient. He provided education to the entire team. He won over our Physician who has not wanted to work with this new equipment. He encouraged our Sonographer to pursue further education and certification. We are also going to work with Probo Medical for our yearly PM’s.
-Applications Training
Joe Hicks made a stressful time of being down due to a defective probe more manageable by sending me a probe overnight. The communication and professionalism was evident from the beginning of my call to your company.
I had initially called to ask some questions about machines as I was having a difficult time deciding between a newer GE Voluson S8 or S10 like I already owned or upgrading to the Voluson E line. Glenn Josephik was very helpful and knowledgeable about the different Volusons and was able to answer my questions fully allowing me the information needed to make my definite decision.
Website was very helpful and comprehensive. Staff help was quick and informative. Special thanks to Tim Maltby and his in-depth knowledge and help with the purchase.
Hobie’s knowledge of the product was great. His class management with time and hands-on training kept the class engaged. Thank you!
–Chad, Basic US & Epiq/Affiniti
I’ve purchased several units from your company. I keep coming back because I always receive the most personable service. I have worked with Tim Maltby on every purchase and he goes above and beyond to accommodate my needs and requests. He answers all my questions, and if he doesn’t know the answer, he finds it and respond in a timely manner. You guys are doing a remarkable job! Thank you so much for everything you have done for us.
Hobie was an excellent trainer/teacher. I would and hopefully will take another training class with Probo Medical.
–Joshua, Basic US & Epiq/Affiniti
Account manager replied very quickly to my call and request for help. She was knowledgeable and efficient.
I loved working with Joe. He was always very prompt with communication, had answers for all of my questions and was knowledgeable with the products. He was supportive in my business endeavors and friendly and I really Appreciate all the help and patience through this process.
Glenn was a pleasure to work with. He was very patient with me. It was a process to get the business loan and took much longer to get the funds. Then I wasn’t able to have the machine delivered until after Christmas and he was very accommodating.
“Very prompt, efficient, knowledgeable, through, and professional. After 3 years of poor service from GE, I am happy to know we have an excellent service engineer to take care of this Voluson E6 system we have. I believe we are in good hands.”

